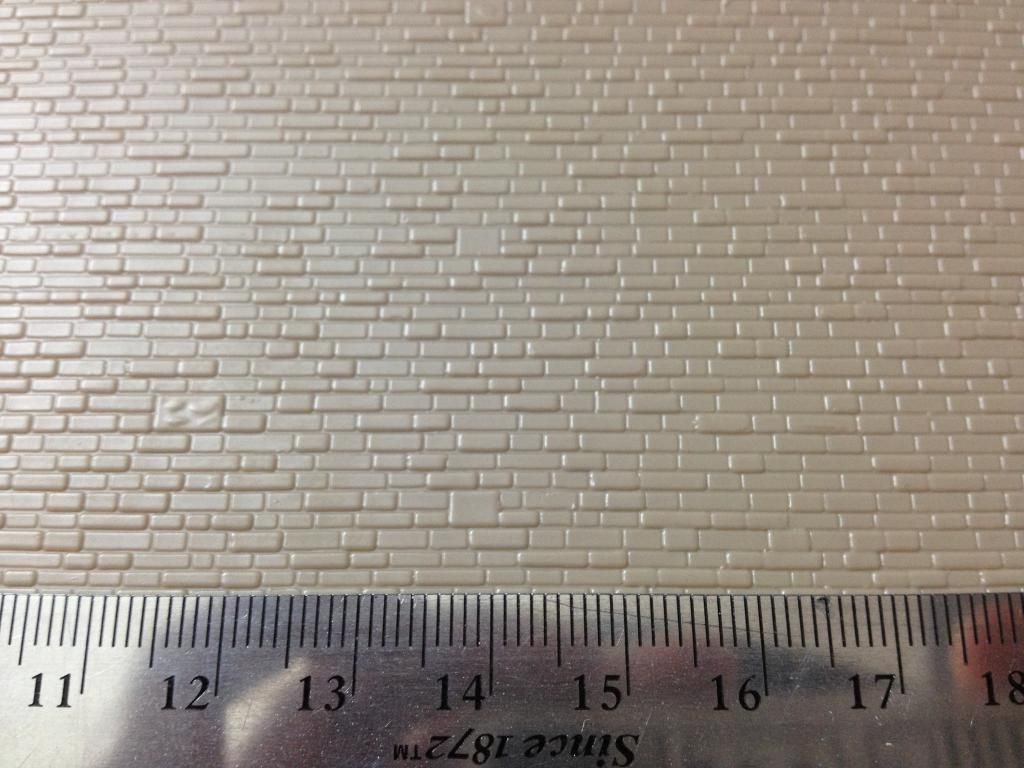
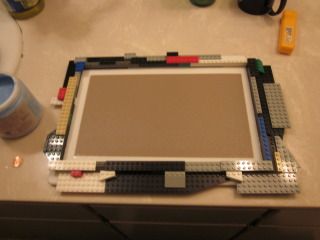
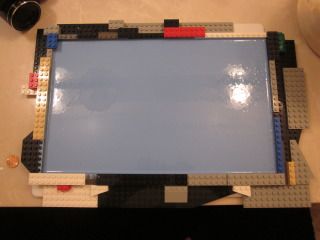
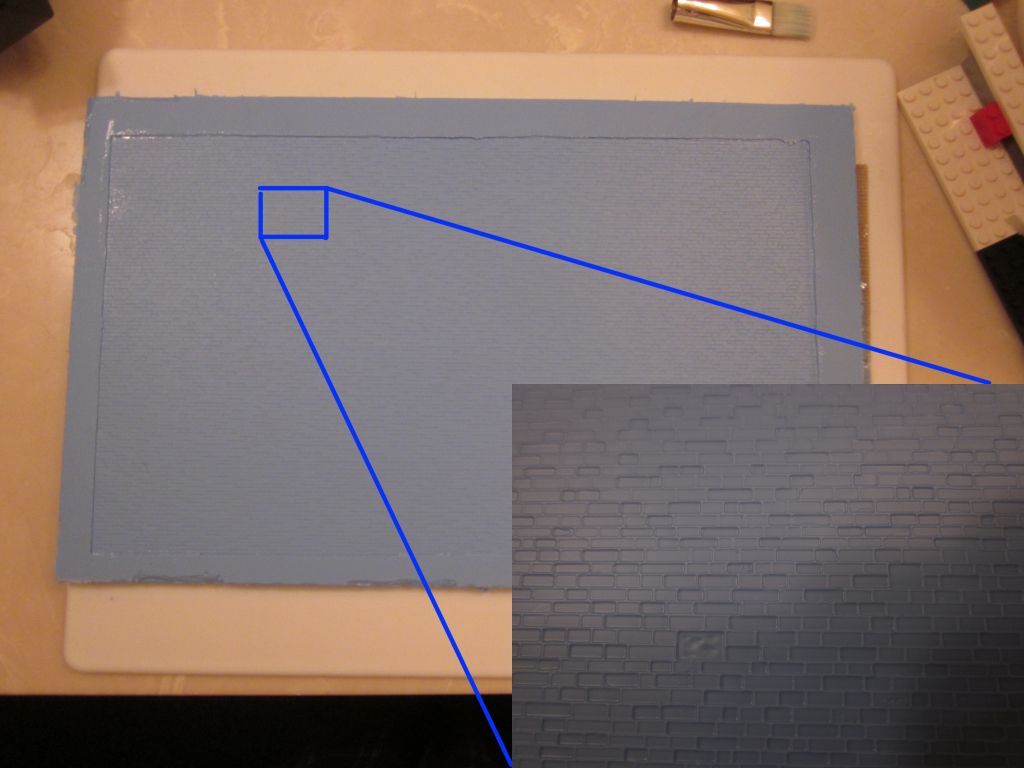
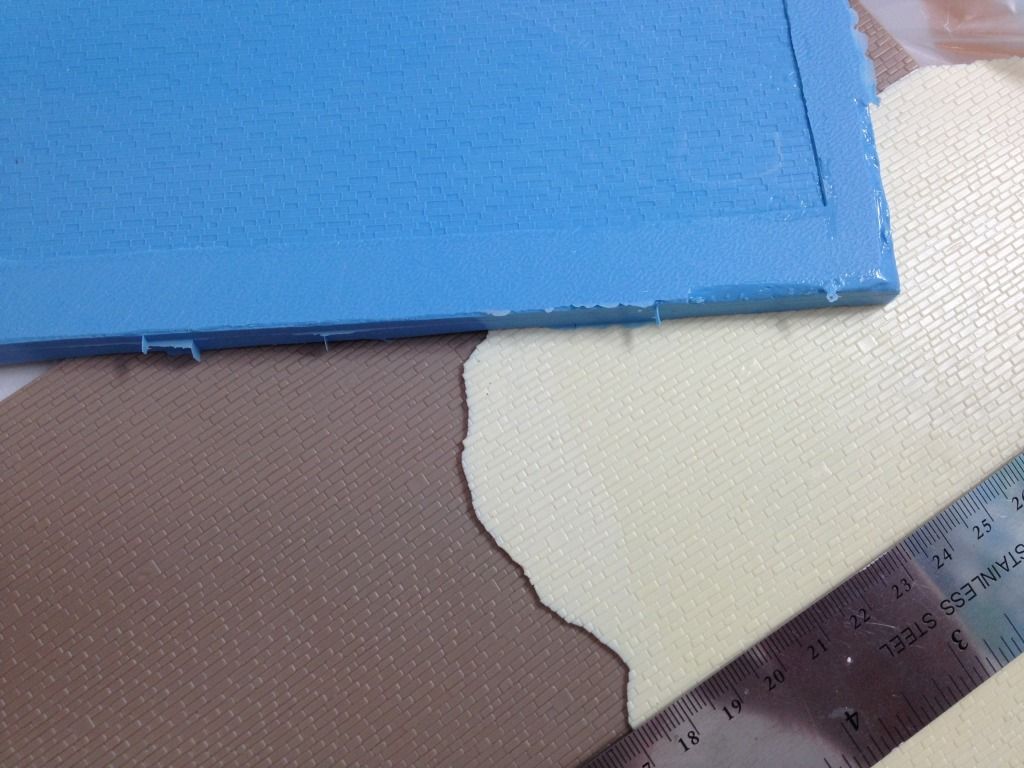
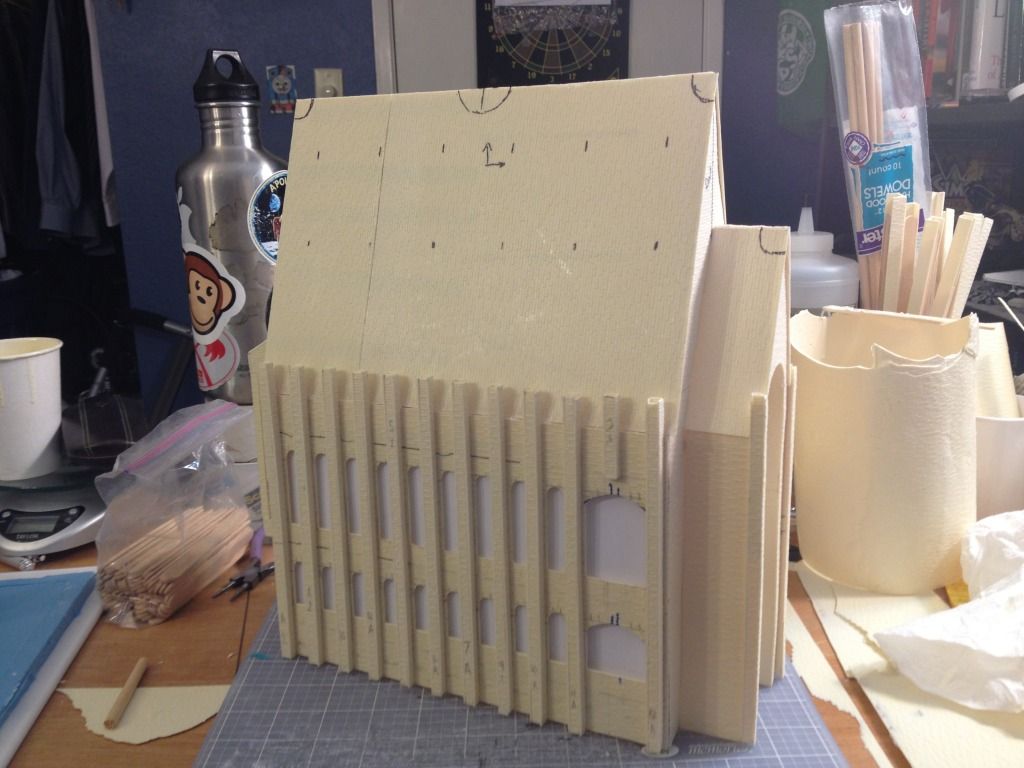
And so begins the construction of the buildings. This was an initial test of one of the brick laying techniques I planned on using. You can see that it didn't work all too well.
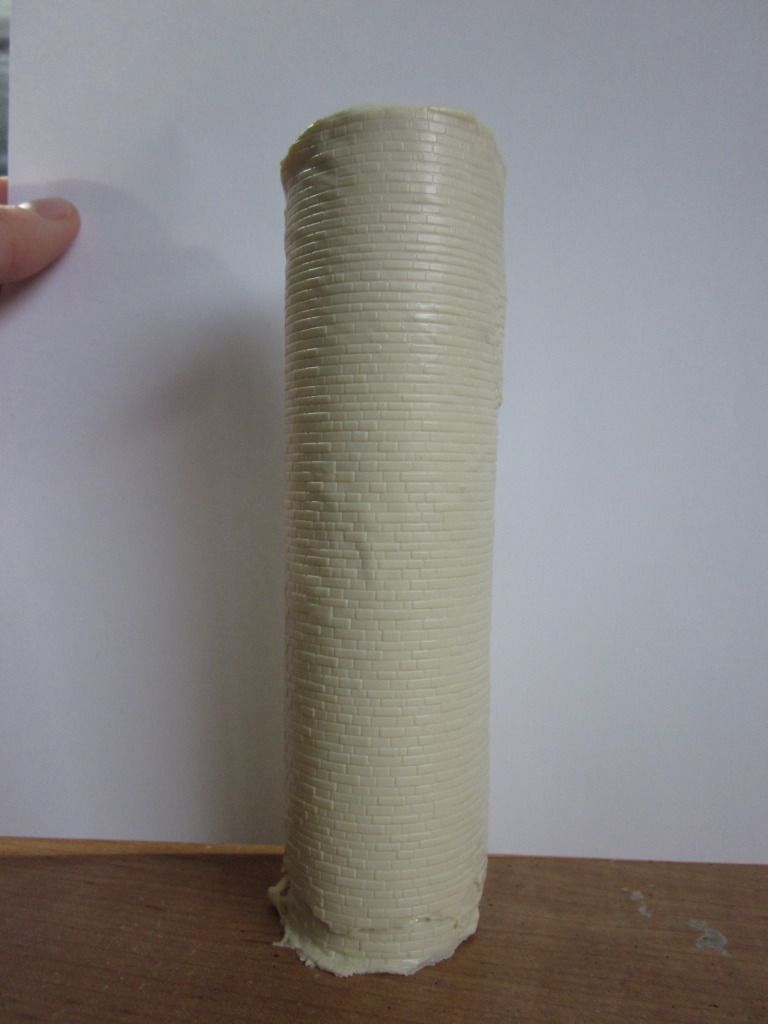
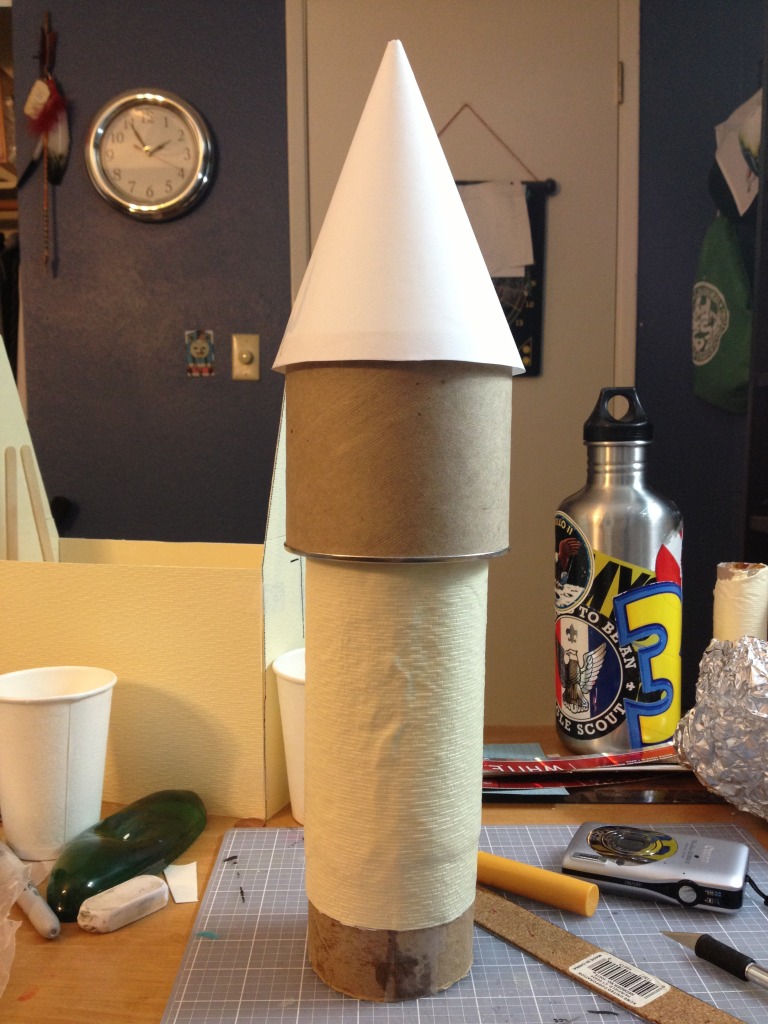
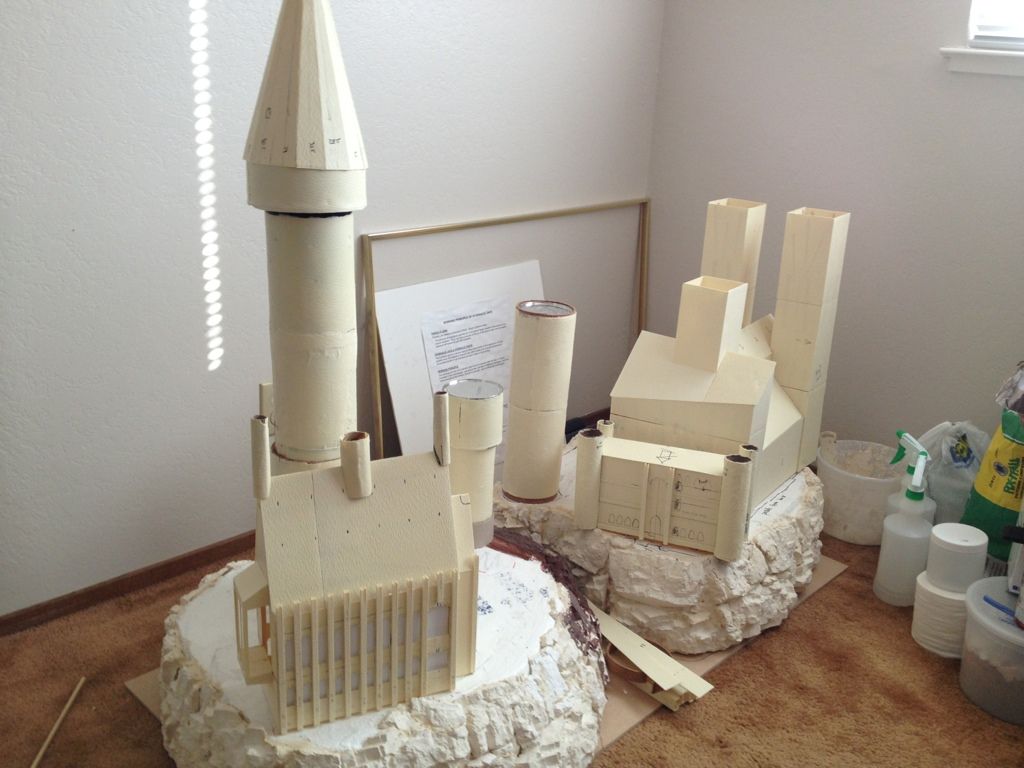
Here are the second and third tries. These were done after I had practiced a couple times on making perfect flat sheets. This time, I practiced on parts that I was going to be using in the final castle. This will be a tower thats located near the ravine and has a smaller bridge extending from it. The top segment will also be rolled in resin. The lower segment will be as well, but the piece is not shown. You can see this tower in the 4th picture, its the cardboard cylinder with the white paper cup in it.
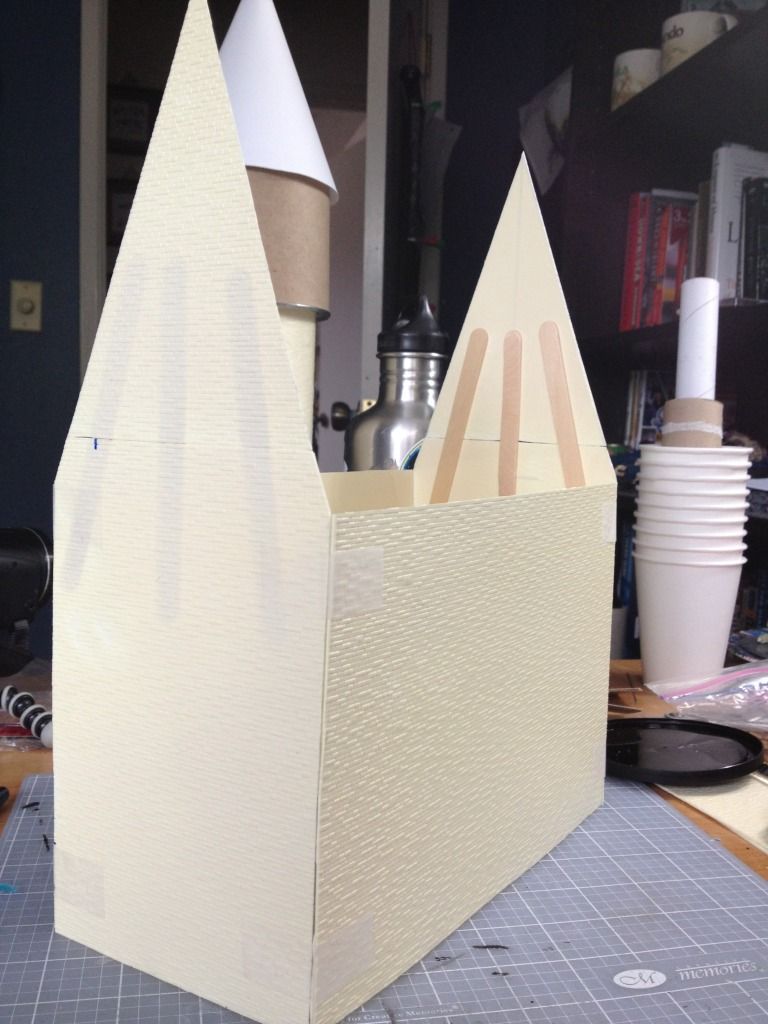
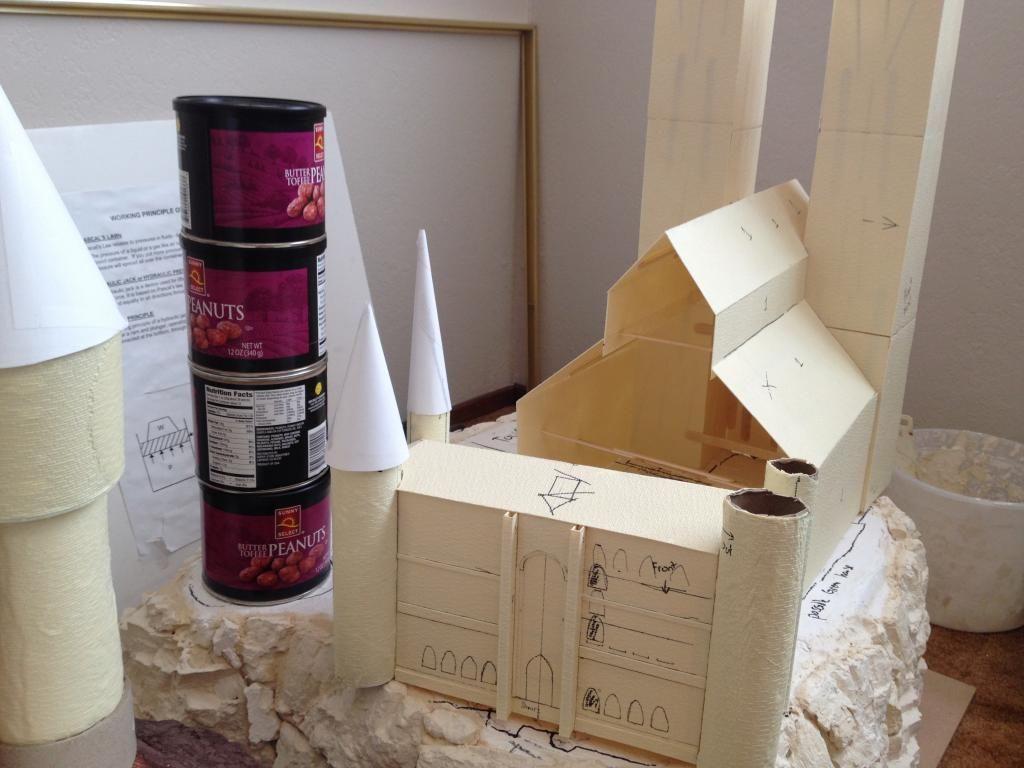
Also, this is where the Great Hall currently sits (held together with scotch tape). Theres a long ways to go...
Well, dear readers, I thought that this post went live early in December 2012, and I guess it hasn't. A major mistake on my part. So I'm just appending my April 26th post to it. I have since then acquired this airbrush from my cousin. He said that he didn't need it, and gave it to me! After some quick noodling with my father's industrial air compressor, I now have a working airbrush. I just needed to get a quick release male fitting for the airbrush hose. (pictured is the old attachment)

I've also been having trouble with this. After the first few complete molded pieces, the resin started sticking to the silicone mold. After some troubleshooting with my modeling friends over at the Ammobunker.org, I made my way back to Tapplastics and got some Rocket quick release spray. Since then, I have had some great results!

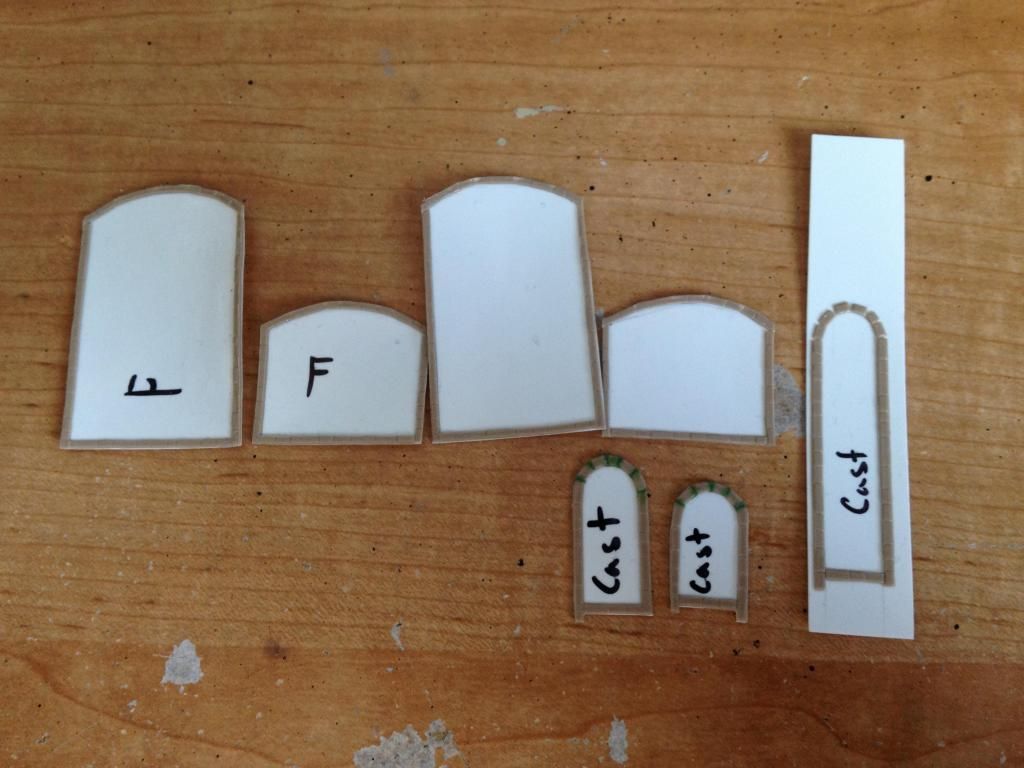
 These are some of the parts that I need to cast up to use as details. All we have so far are some windows. I'll cook up some moulding and such later on.
 This is where we're sitting as of April 26th, 2013. Still a long ways to go.
Hope you enjoyed the update. Still a long journey ahead of me.
-Shortsonfire79


