Sorry for the mondo pictures. They're screwed up because of the forums. Click on the pictures to get full views.
I apologize in advance for the huge pictures, but I accidentally did 17" at photobucket..and it takes forever to upload 20 pictures...I don't want to do it again...
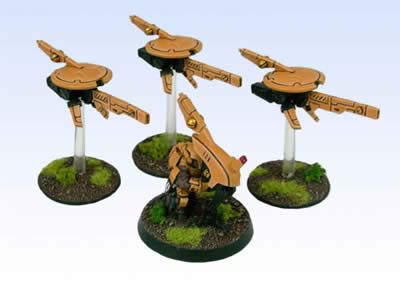
This is what we're striving for.

This is what we're making. Pretty close huh?

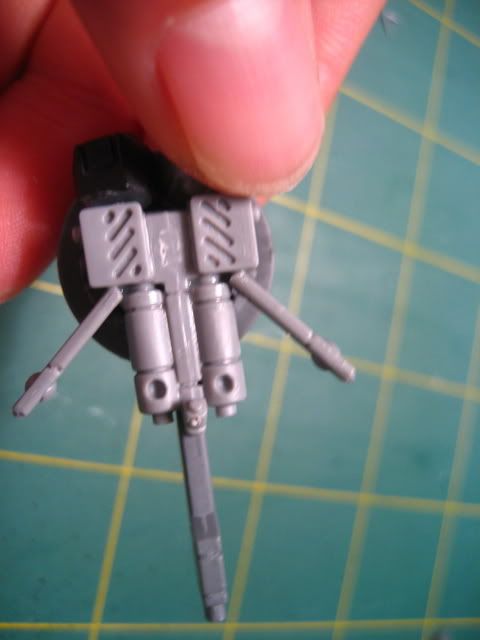
Underside

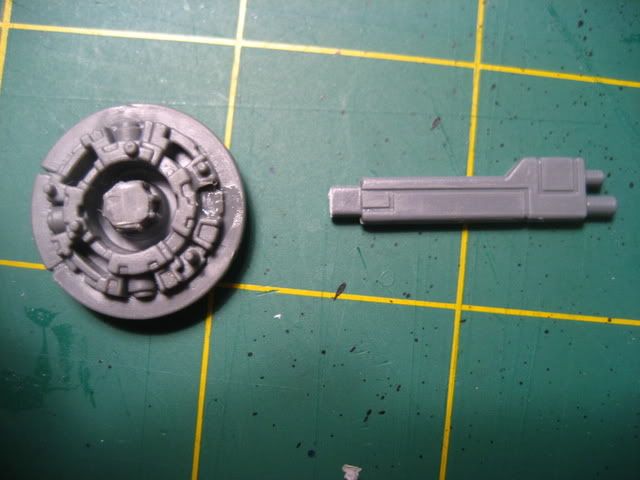
These are the things you need. 1 drone body, 2 Crisis Flamers, Arms, and targeter, 2 rifles (its been a while since I've done Tau), and 1 array thing for a Tau Tank.

Step 1
Take the array thing, and cut off the pointy part, and remove flash. Remove the front lense on the underside of the drone body. (or any, its just personal preference, you will want to have the holes facing forward, or you can fill them (this was originally supposed to be a shield drone, but I didn't have an extra shield, so it became a spare))

Step 2
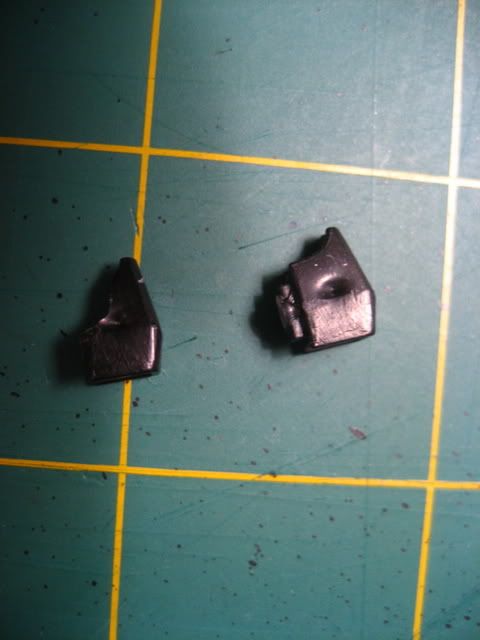
Take the 2 Crisis Arms, and cut off the shoulder piece. Hold both while you do it, or they'll shoot across the room, which happened to the black one. =-P

Step 3
Take the 2 Crisis Flamers, and cut off the pack-thing, and the barrel. I left the barrel on the left one so you can see where to cut (just incase you need it.)

Step 4
Take your 2 rifles (pulse rifles?), and cut off the barrels. For ONE of the flamers, cut off the back part. The top one shown is to show what it was before, the bottom one is what you want it to look like.

Step ish.
These are all the pieces you want to keep. Everything else can go into the bitz box. YOU MUST HAVE A BITZ BOX!!! =-D just kidding..but you really should..

Step 5
Glue the Array thing in the drone body, where you cut off the lens. Cut the flamer (that you kept) to look like the bottom one.

Step 6
Glue the flamer on like so.

Step 7
Glue the flamer pack-thingies on like so.

Step 8
Glue the flamer barrels on like this. The area where you cut them off the original will line up perfectly.

Step 9
Glue the Crisis shoulders on like so. You'll have to move them around until you think they look good.

Step 10
Cut the Targeter to look something like the one on the left (the one on the right is an example) Cut it to fit on the front of the drone shell. (they're painted, because the original got messed up =-( )

Step 11
Glue the targeter on like so.

Step 12
Remember those 2 pulse rifle barrels? Glue them on like this.


Step 13.
Glue on a antenna..I don't have any spares (for some reason... =-/ )
Zangs a damn!

The targeter man will come along shortly..I haven't thought about him yet, as its been almost a year since I've made one of these. =-P


nice, I'll be sure to have a look at some of your other tutorials
ReplyDeleteThat is a very detailed guide of making those. Do you need to make your own team leader also.
ReplyDeleteI need to make a Drone Controller, yes. I haven't really thought about it yet, but I'm thinking I'll use a Stealth Suit head for a piece.
ReplyDelete